
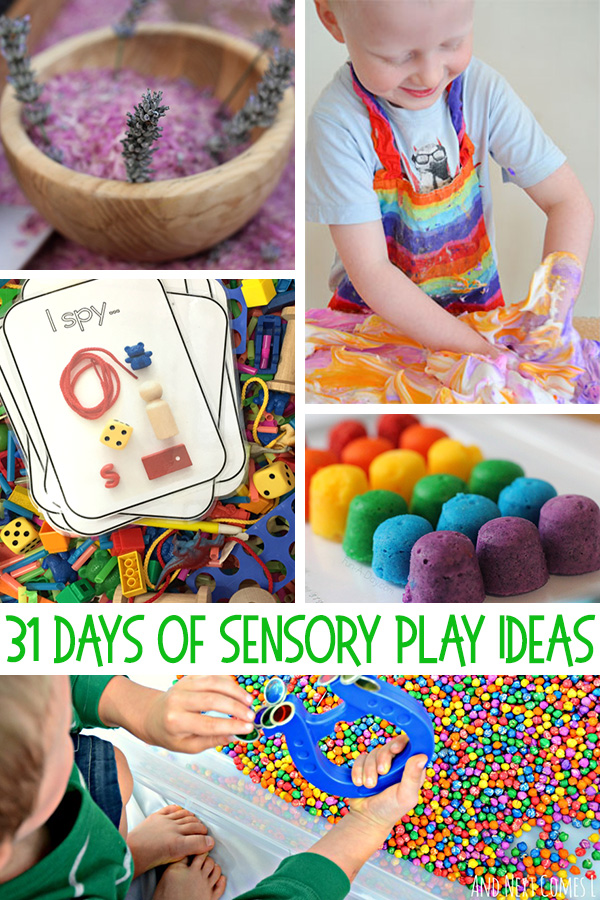
Why Sensory Play Matters
My niece, Lily, at three years old, was once completely absorbed in a bowl of cooked spaghetti. It wasn’t about the food; it was about the feel of it – the slippery strands, the squish between her fingers. That’s sensory play in action, and it’s more than just letting a toddler make a mess. It’s a fundamental way young children learn about the world.
Sensory play is any activity that stimulates one or more of the senses: sight, sound, smell, taste, and touch. For preschoolers, it’s important for brain development. These experiences help build neural pathways, essential for cognitive growth, problem-solving, and creativity. It’s not just about entertainment; it’s foundational.
Beyond cognitive benefits, sensory play supports emotional regulation. Exploring different textures and materials can be calming for children, helping them manage stress and anxiety. It also refines both fine and gross motor skills – scooping, pouring, squeezing, and building contribute to physical development. Language skills blossom too, as children describe what they’re experiencing: 'It's cold!' 'It feels bumpy!'
Sensory play differs from regular play by its deliberate focus on the senses. While all play is valuable, sensory play intentionally provides opportunities for exploration through touch, sight, sound, and more. It caters to different learning styles. Some children are visual learners, others are kinesthetic, and sensory play offers something for everyone. It’s about providing the space for exploration, not striving for a perfect outcome.
20 Household Sensory Bins
Sensory bins are a fantastic way to introduce sensory exploration, and the best part is you likely have many of the materials already! These contained environments allow preschoolers to investigate textures and practice skills like scooping, pouring, and sorting. Remember, supervision is always required, especially with smaller items that could be a choking hazard. Here are some ideas to get you started:
1. Dried Pasta: Different shapes and sizes offer varied tactile experiences. Targets fine motor skills and sorting. Safety Note: Monitor closely to prevent ingestion.
2. Rice: A classic choice! Great for scooping and pouring. Supports hand-eye coordination. Safety Note: Supervision needed; rice can be a choking hazard.
3. Beans: Similar to rice, but with a different texture. Encourages exploration of different sizes and shapes. Safety Note: Monitor closely.
4. Oats: Softer texture, good for younger children. Supports sensory exploration and imaginative play. Safety Note: Avoid if allergies are a concern.
5. Water Beads (with supervision!): These are fascinating, but must be closely supervised due to choking hazard. Develops fine motor skills and provides a unique sensory experience.
6. Shredded Paper: Lightweight and fun to manipulate. Great for imaginative play and building. Safety Note: Ensure paper isn't too small to be inhaled.
7. Pom-Poms: Soft and colorful. Excellent for fine motor skill development and color sorting. Safety Note: Monitor closely.
8. Cotton Balls: Fluffy and light. Supports sensory exploration and imaginative play. Safety Note: Ensure children don't ingest.
9. Ice: A cool sensory experience! Melts quickly, adding an element of time and change. Safety Note: Supervise closely.
10. Shaving Cream: A messy but fun option! Provides a unique tactile experience. Safety Note: Avoid if skin sensitivities exist.
11. Flour: A simple and versatile material. Can be used for building and creating. Safety Note: Messy! Use a designated area.
12. Sand (if accessible): A classic sensory material. Supports building, digging, and imaginative play. Safety Note: Ensure sand is clean.
13. Coffee Beans (supervised!): The scent adds another dimension. Safety Note: Strict supervision required due to choking hazard.
14. Cereal: A familiar and engaging material. Supports sorting and counting. Safety Note: Monitor closely.
15. Packing Peanuts (supervised!): Lightweight and fun to manipulate. Safety Note: Supervision is essential; choking hazard.
16. Buttons (supervised!): Different sizes, colors, and textures. Supports sorting and fine motor skills. Safety Note: Very strict supervision required.
17. Bottle Caps: Colorful and easy to grasp. Good for stacking and sorting. Safety Note: Ensure caps are clean.
18. Pasta Shapes: Different shapes and sizes for exploration. Supports fine motor skills and imaginative play. Safety Note: Monitor closely.
19. Water with Bubbles: Add dish soap to water for a bubbly sensory experience. Supports exploration and imaginative play. Safety Note: Supervise closely.
20. Cloud Dough (Flour & Oil): A moldable and soft texture. Supports creativity and sensory exploration. Safety Note: Ensure children don’t ingest.
Beyond the Bin: Textural Exploration
Sensory play doesn't have to be confined to a bin. There are many ways to incorporate tactile experiences into everyday activities. These explorations often require less preparation and can be just as impactful. It’s about broadening the scope of sensory input beyond what fits neatly into a container.
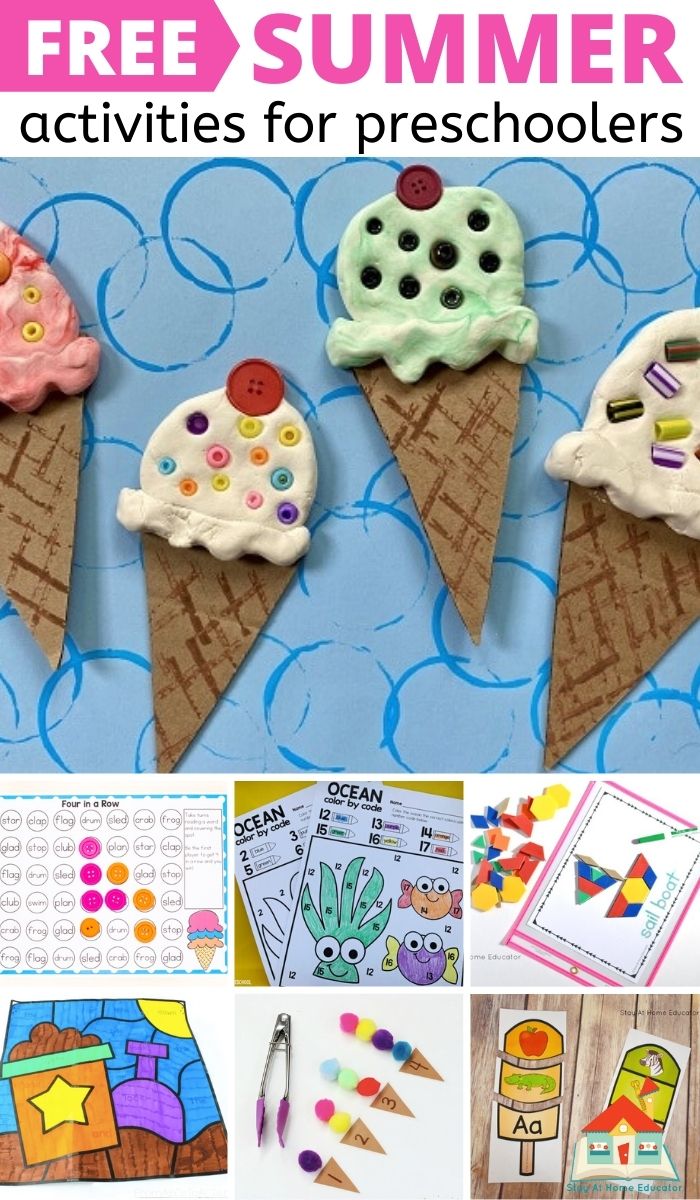
Finger painting is a classic for a reason. Instead of traditional paint, try using yogurt or pudding for a taste-safe option – it adds another sensory dimension! Playdough is another excellent choice. A simple recipe (flour, salt, water, and oil) yields hours of fun. Creating a 'mystery bag' is easy: place familiar objects inside a bag and have children guess what they are by touch alone.
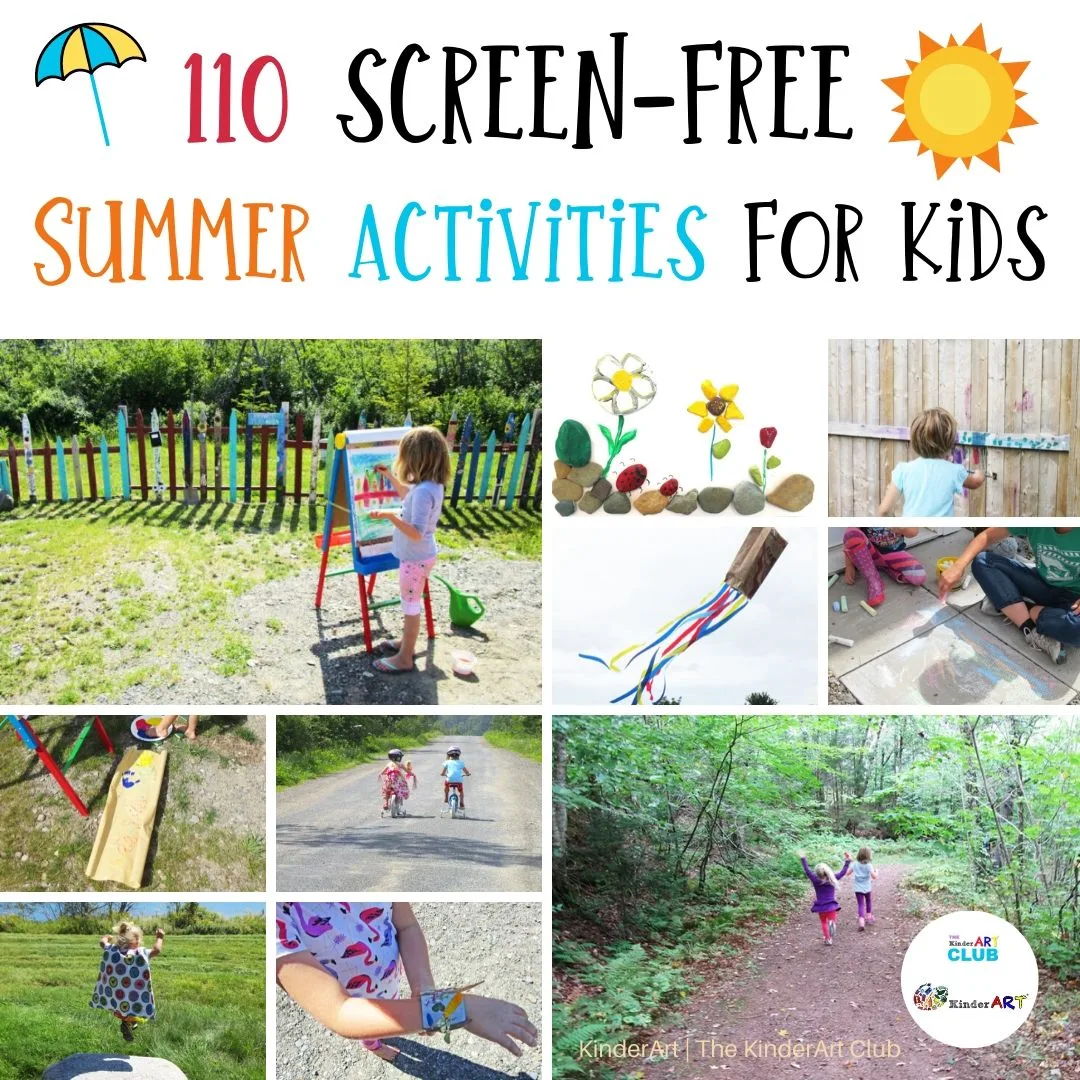
Nature walks are a wonderful opportunity to focus on textures. Encourage children to feel the bark of trees, the smoothness of stones, and the softness of leaves. Slime (using a borax-free recipe!) is a popular choice, offering a unique and satisfying texture. Exploring different fabrics – silk, wool, and cotton – can also be very engaging.
Finally, don’t underestimate the power of building with unusual materials. Cardboard boxes, bubble wrap, and even crumpled newspaper can provide exciting tactile experiences. These activities don't need to be complicated; the goal is to provide opportunities for children to explore and experiment. Remember, the process is more important than the product.
Sensory Play & Messes: A Realistic Guide
Sensory play can be messy. It’s a valid concern for parents and teachers. But a little mess is often a sign of a child deeply engaged in learning. The goal isn’t to eliminate mess entirely, but to manage it effectively. Embracing a bit of chaos can lead to more relaxed and enjoyable experiences.
Designate a specific sensory area – a corner of the room, a table covered with a plastic tablecloth, or even outdoors. Lay down a drop cloth or old sheet to protect surfaces. Choose materials that are relatively easy to clean up. Setting clear boundaries is also important: 'We keep the sensory materials on the table.'
Make cleanup part of the activity. Encourage children to help sweep up spilled rice or gather stray pom-poms. This teaches responsibility and reinforces the idea that messes are a normal part of learning. It’s also a good opportunity to practice sorting and categorizing. Don't be afraid to embrace the mess; it’s a small price to pay for the benefits of sensory exploration.
- Designate a sensory play area.
- Use a drop cloth or plastic tablecloth.
- Choose easy-to-clean materials.
- Set clear boundaries.
- Make cleanup a collaborative activity.
Adapting for Different Needs
Every child is different, and some may have specific sensory needs that require adaptation. Children with sensory sensitivities may become easily overstimulated, while others may actively seek out more intense sensory input. Being observant and responsive to each child’s individual needs is important.
For children who are easily overstimulated, simplify activities. Reduce the number of materials in a sensory bin, or offer a quieter sensory experience, like exploring different fabrics. Providing a calm-down space – a cozy corner with soft blankets and pillows – can also be helpful. Be mindful of strong smells or loud noises.
Children who seek out more intense sensory input may enjoy activities with more texture or movement. Offer materials like dry beans or rice, or encourage them to engage in active sensory play, like digging in sand or playing with water. Recognizing signs of sensory overload is important – these can include irritability, withdrawal, or difficulty focusing. If a child seems overwhelmed, offer them a quiet space to regulate.
Standout Activities: Recipes & Variations
Playdough and slime are consistently popular choices, and both are easily customizable. Here are more detailed recipes and variations.
Playdough: A basic recipe is incredibly simple: 1 cup flour, 1/2 cup salt, 1 tablespoon oil, and 1/2 cup water. Mix the dry ingredients, then add the wet ingredients and knead until smooth. To add scent, incorporate a few drops of essential oil (lavender, peppermint, or citrus work well). For color, use food coloring or natural dyes like beet juice or turmeric. You can also add glitter, small beads (with supervision!), or even spices like cinnamon.
Slime (Borax-Free): Combine 1/2 cup clear school glue with 1/4 cup liquid starch. Mix well until the slime forms and pulls away from the sides of the bowl. Knead until smooth. For a fluffy slime, add shaving cream. For a glittery slime, add glitter. You can also experiment with different colors and scents. Remember to store slime in an airtight container to prevent it from drying out.
Water Beads: While requiring strict supervision, water beads are captivating. Soak the beads in water for several hours until they reach their full size. Add them to a bin with scoops and containers. Consider adding small toys for children to find. Always monitor children closely during water bead play.
- Playdough: 1 cup flour, 1/2 cup salt, 1 tbsp oil, 1/2 cup water.
- Slime: 1/2 cup glue, 1/4 cup liquid starch.
- Water Beads: Soak in water for several hours.

No comments yet. Be the first to share your thoughts!