
5 Spring Sensory Stations for Preschoolers
Transform your living space into a seasonal learning hub with these five accessible spring sensory stations designed specifically for preschoolers. Using simple household materials, each setup offers hands-on play that subtly builds fine motor skills, cognitive focus, and sensory processing.
-
sprouting seed sensory bin
Fill a shallow bin with damp paper towels and scatter lentil or bean seeds on top. Let children press seeds into the moist fabric, observing the subtle changes over several days as roots emerge. This low-mess activity introduces basic botany concepts while providing gentle tactile feedback through the soft, damp texture of the towels and the smooth, cool seeds in their hands. -
rainbow rice color sorting
Dye uncooked rice with food coloring and vinegar, then dry it completely before storing in separate containers. Provide small cups and funnels for children to sort the vibrant grains by hue. This activity refines fine motor skills and hand-eye coordination as they carefully pour and transfer the lightweight, crunchy material, fostering early color recognition and patience. -
water bead texture tray
Fill a tray with hydrated water beads and add small plastic animals or scoops for exploration. Children can squish the cool, bouncy spheres, feeling their unique resistance and smooth surface. This sensory experience offers calming tactile input and encourages imaginative play, allowing kids to engage deeply with the unusual texture while developing their grasp strength and dexterity. -
flower petal stamping station
Collect fresh, soft flower petals and arrange them on a table with washable paint and thick paper. Press the petals gently onto the paper to create unique, organic prints. This artistic activity connects children with nature’s delicate textures while enhancing their understanding of cause and effect. It also supports creative expression and improves hand control through precise pressing motions. -
bubble wrap popping path
Tape a long sheet of bubble wrap to the floor and encourage children to walk or jump on it. The satisfying pops provide auditory and tactile stimulation, helping to release energy and build gross motor coordination. This active game promotes balance and spatial awareness while offering immediate sensory feedback that keeps young learners engaged and motivated to move.
Build a spring nature bin
A nature bin turns the outdoors into a classroom right at your kitchen table. By collecting simple spring items, you give preschoolers a hands-on way to explore textures, colors, and the changing seasons. This activity supports fine motor development and observational skills without needing expensive supplies.
Take a short walk outside to collect safe, natural materials. Look for fallen twigs, smooth stones, pinecones, or large petals. Avoid anything that might be thorny or poisonous. Let your child fill a small basket or bucket with their finds.
Select a shallow plastic bin or a large cardboard box. It should be wide enough for little hands to move items around easily. A low profile helps children see everything inside without reaching too far.
Fill the bottom of the bin with a base layer. Dry leaves, moss, or sand work well to anchor the collected items. This adds texture and makes it easier to spot smaller objects like seeds or beetles.
Let your child place their gathered items into the bin. Encourage them to group similar things together or create patterns. This is a great moment to ask questions about what they found and why they chose those spots.
Provide simple tools like tweezers, small cups, or magnifying glasses. Watch how they handle the materials. This open-ended play builds focus and curiosity as they discover the hidden details of spring.
Create a flower painting station
Transform fresh spring blooms into natural art tools. This station combines fine motor practice with nature exploration, allowing children to discover how different petal shapes create unique textures and patterns. It is a low-prep activity that turns the outdoors into an art studio.
Gather your supplies
Collect sturdy flowers with flat or textured surfaces, such as daisies, marigolds, or large tulip petals. You will also need washable tempera paint in spring colors, thick paper or cardstock, and damp cloths for cleanup. Place these items on a table covered with a plastic sheet or newspaper to protect the surface.
Prepare the flowers
Have children rinse the flowers gently and pat them dry. This step helps remove dirt and allows the paint to adhere properly. Encourage them to inspect the blooms, noting the difference between smooth petals and fuzzy centers. This observation builds attention to detail before the painting begins.
Dip and stamp
Show children how to dip the flower head into the paint. Press it firmly onto the paper, then lift straight up to reveal the print. Experiment with different flowers and colors to see which ones leave the clearest impressions. Remind them that overlapping prints can create beautiful, layered effects.
Clean and display
Once the painting is complete, help children wash their hands and clean the tools. Hang the artwork to dry in a sunny spot. This activity supports developmental goals by strengthening hand muscles and encouraging creative expression through natural materials.
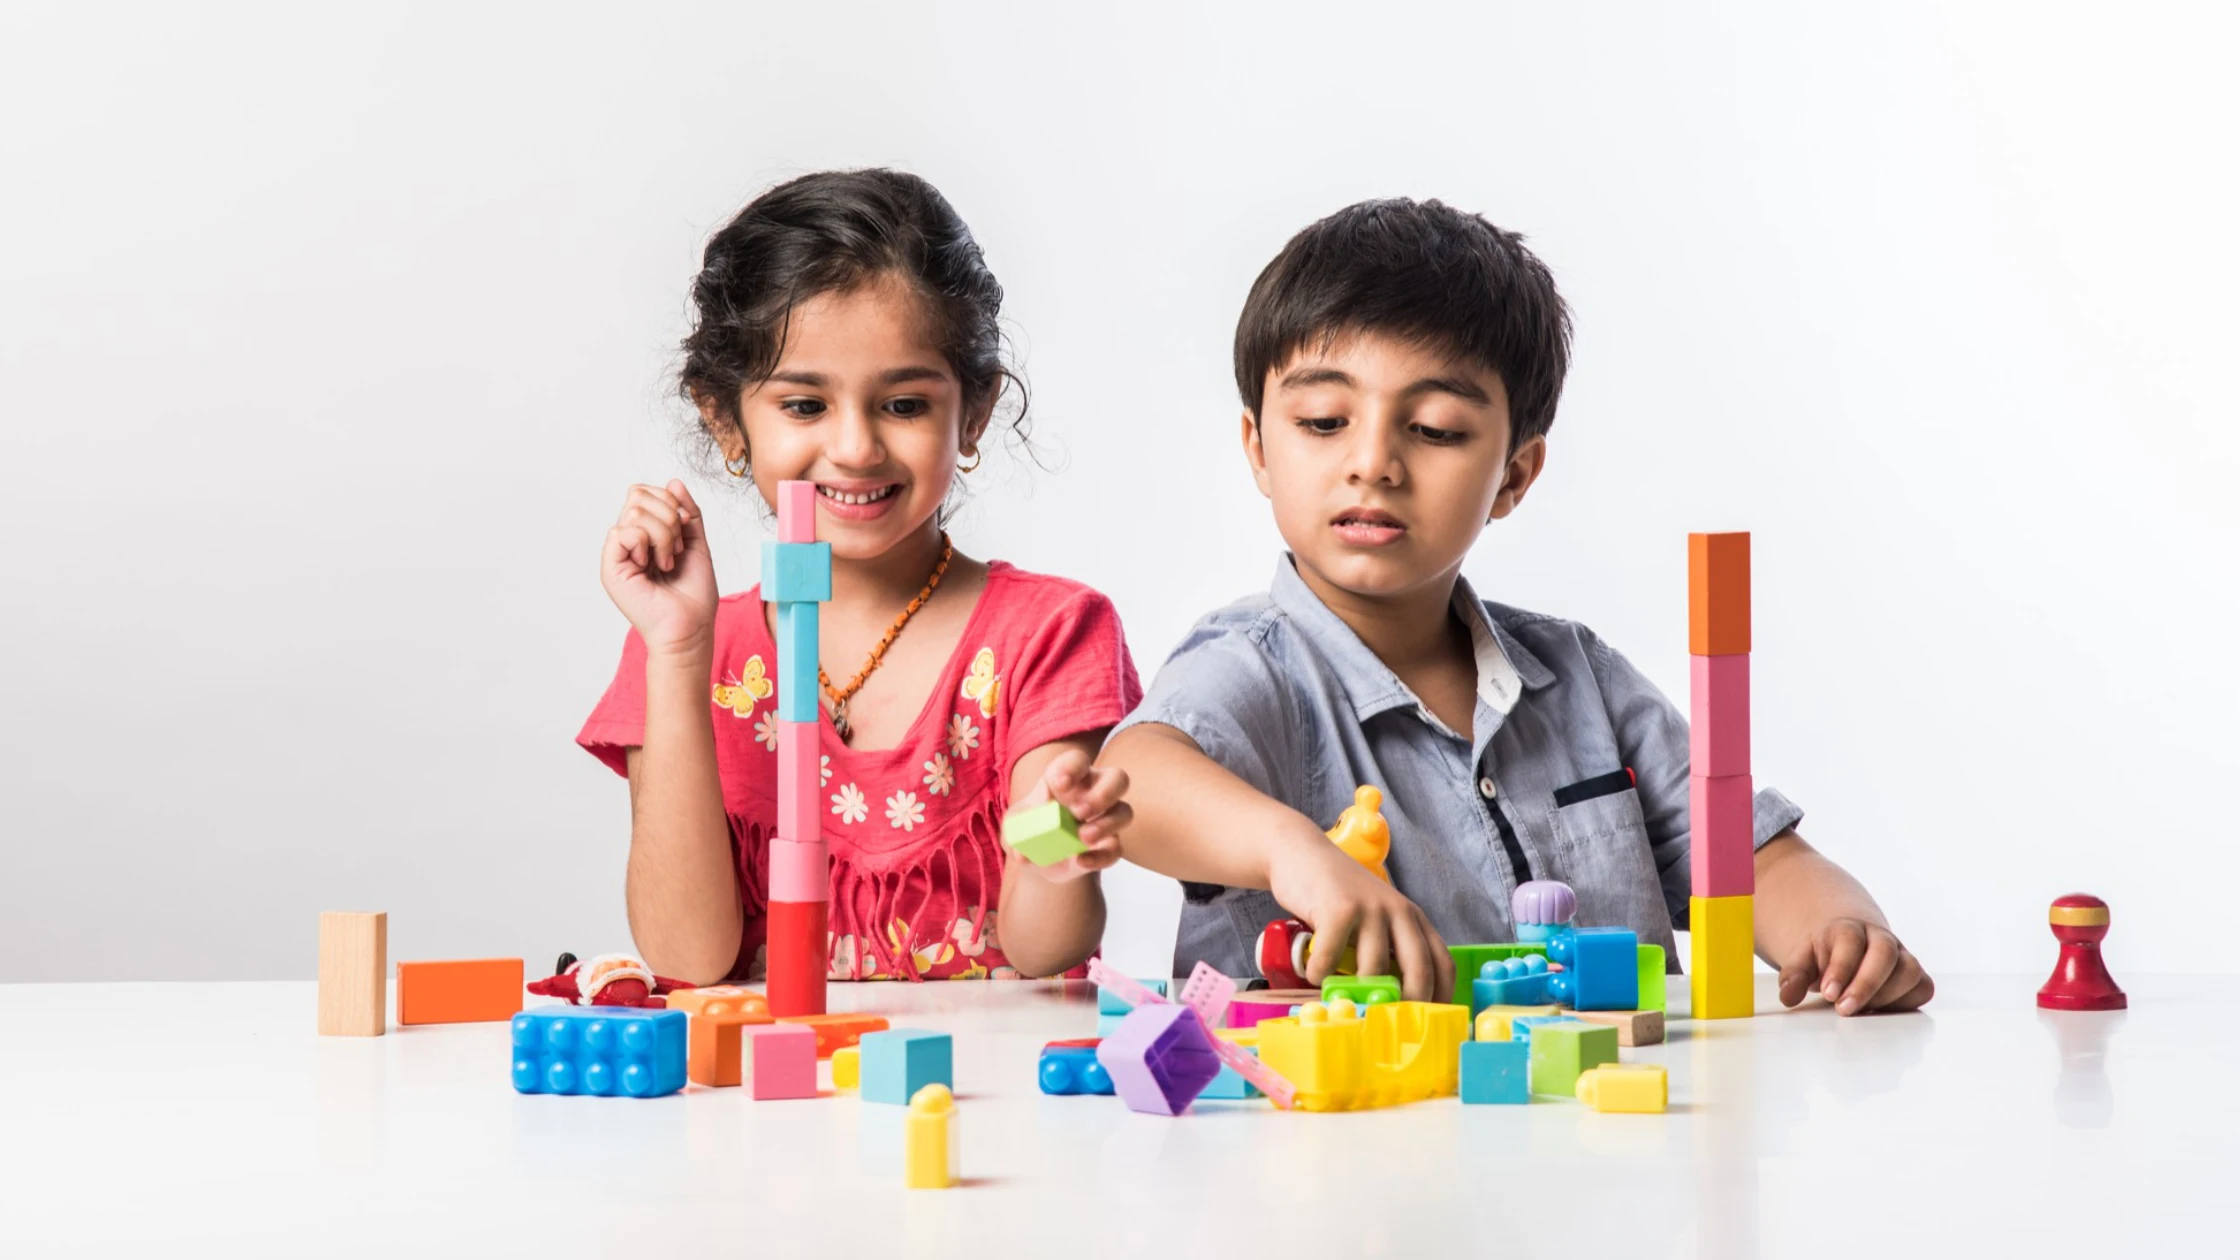
Make a spring color sorting game
Turn ordinary household items into a hands-on lesson on color recognition. This activity requires minimal prep but offers significant developmental benefits, helping preschoolers practice fine motor skills while they categorize objects. By using spring-themed items like colored plastic eggs or paper flowers, you create a playful context that keeps young children engaged.
Gather your materials
You will need a collection of colorful spring items. Plastic eggs in primary and secondary colors work well, as do paper flowers in various shades. You also need sorting containers, such as small bowls, muffin tins, or empty egg cartons. If you have colored construction paper, you can use it as a visual guide for each bin.
Set up the sorting stations
Arrange the containers in a row or a circle on a table or the floor. Place a matching colored item next to each container to serve as a reference point. For example, put a red plastic egg next to a red bowl. This visual cue helps children understand the task immediately without needing extensive verbal instructions.
Invite children to sort
Hand the child a handful of mixed items and ask them to place each one into the matching bin. Encourage them to say the color name as they sort. This reinforces vocabulary and ensures they are paying attention to the specific hue of each object. If a child makes a mistake, gently guide them to the correct container rather than correcting them harshly.
Extend the learning
Once the sorting is complete, count the items in each bin together. This adds a math component to the activity, introducing basic counting and quantity comparison. You can also challenge older preschoolers to sort by size or type (e.g., eggs vs. flowers) within the same color group, adding layers of complexity to the game.
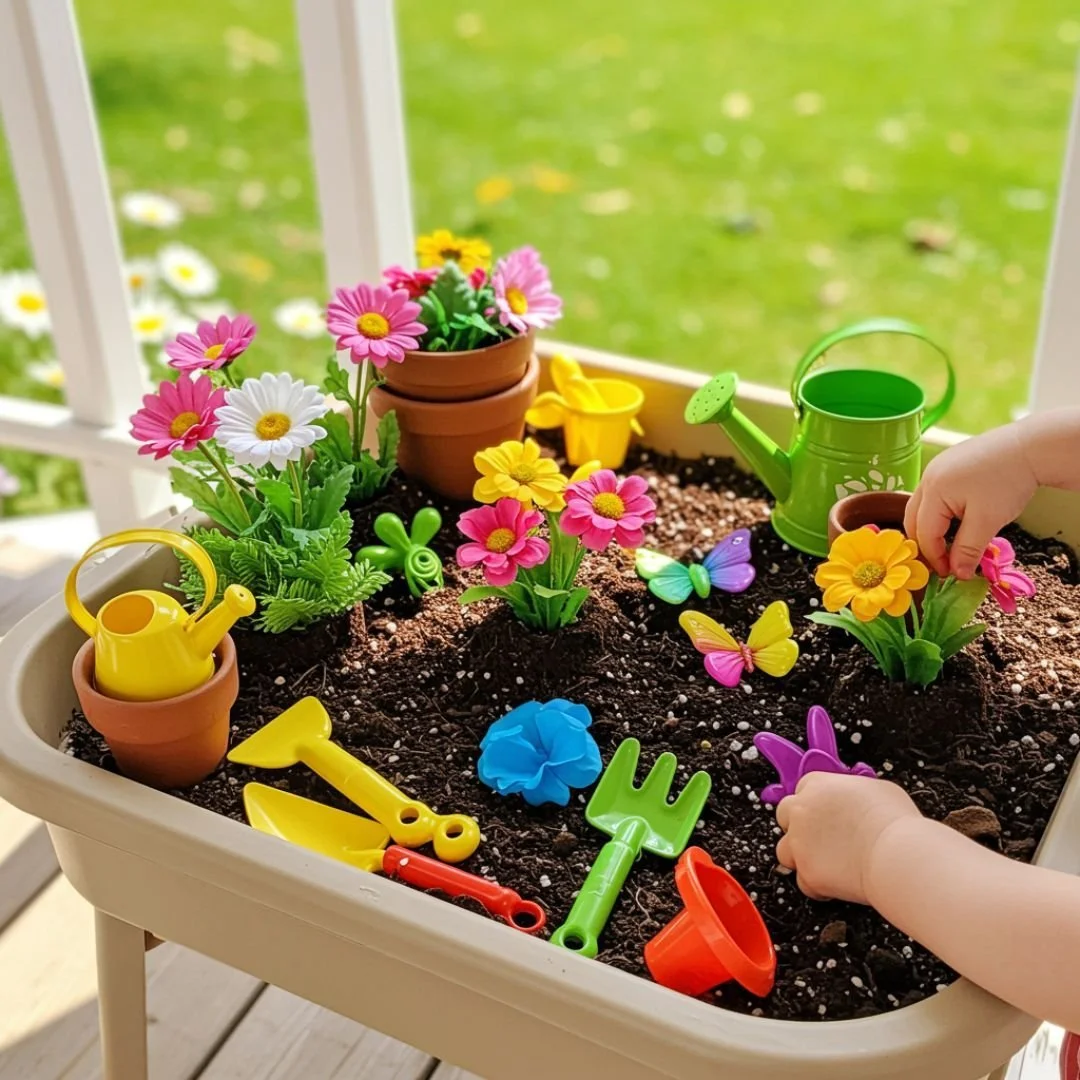
Set up a spring water table
A water table is one of the most accessible ways to introduce physics and volume concepts to preschoolers. By using simple spring-themed tools like small sprinklers, plastic cups, and funnels, children can explore how liquids move and fill space. This setup encourages open-ended play while subtly building early math and science skills through hands-on experimentation.
To begin, choose a shallow, durable bin or a dedicated outdoor water table. Fill it with enough water for the children to submerge their hands but not so much that it becomes heavy or difficult to manage. The goal is to create a contained environment where spills are manageable and the focus remains on the water itself.
Next, gather a variety of spring-related tools. Small handheld sprinklers, measuring cups, spoons, and empty plastic bottles work well. These items allow children to pour, scoop, and spray, helping them understand cause and effect. For example, squeezing a bottle releases water, while tilting a cup pours it out.
Encourage children to predict what will happen before they act. Ask questions like, "Which cup will fill up faster?" or "What happens if you squeeze the sprinkler harder?" These prompts stimulate critical thinking and vocabulary development, turning simple play into a rich learning experience.
Finally, set up a towel station nearby for easy cleanup. This teaches responsibility and helps maintain a dry, safe play area. As the children play, observe how they interact with the tools and water, noting their discoveries and adjusting the setup to match their interests and developmental level.
Checklist for spring sensory play
Before you begin, gather these common household items to set up five engaging spring-themed sensory stations. Each activity supports fine motor development and early scientific thinking through hands-on exploration.
- Water beads: A cup of non-toxic, absorbent water beads for tactile exploration and fine motor practice.
- Spring flowers: Fresh or artificial blooms for sorting by color, size, or type.
- Playdough: Basic or homemade dough for shaping and strengthening hand muscles.
- Natural materials: Pinecones, twigs, and leaves for texture sorting and nature-based counting.
- Sprinklers or spray bottles: For water play and sensory bin wet/dry comparisons.
Clear a table or floor space large enough for each station. Place materials in shallow bins or trays to contain messes. Keep towels nearby for quick cleanups. This setup encourages independent play and reduces cleanup time.
Common questions about spring play
Parents often worry about safety and simplicity when setting up spring sensory stations. The goal is to keep materials accessible and supervision light. Most activities use household items or inexpensive nature finds.
Are spring sensory activities safe for toddlers?
Yes, with simple adjustments. Use larger items to prevent choking hazards. Avoid small beads or seeds for children under three. Always supervise play near water or outdoor materials like soil and sticks. Check for allergies before using natural elements like flowers or pinecones.
What materials do I need for preschool spring play?
You likely already have most supplies. Common items include plastic bins, water, sponges, and spring-themed colors like green and yellow. Natural materials like leaves, pebbles, and petals work well. For indoor stations, use playdough, rice, or shredded paper. Keep containers shallow and easy for small hands to reach.
How long should a sensory station last?
Let children lead the exploration. A station can stay out for days if materials remain fresh and engaging. Rotate items weekly to maintain interest. Watch for signs of boredom or frustration. If a child loses interest, remove the activity and try again later. The focus is on process, not completion.

No comments yet. Be the first to share your thoughts!